Author: Safiyyah Talley
GoSadi user and guest blogger Safiyyah Talley is a knitwear designer, educator, and author of the best-selling book, “Knit 2 Socks in 1.” Lovingly known as The Drunk Knitter, Safiyyah has built a loyal following as a teacher, blogger, and podcaster. Drawing on her background in fashion design and English, she combines technical precision, clear communication, and a deep love of style—making her the ideal creator to walk us through the knitwear design process, from swatch to finished pattern.
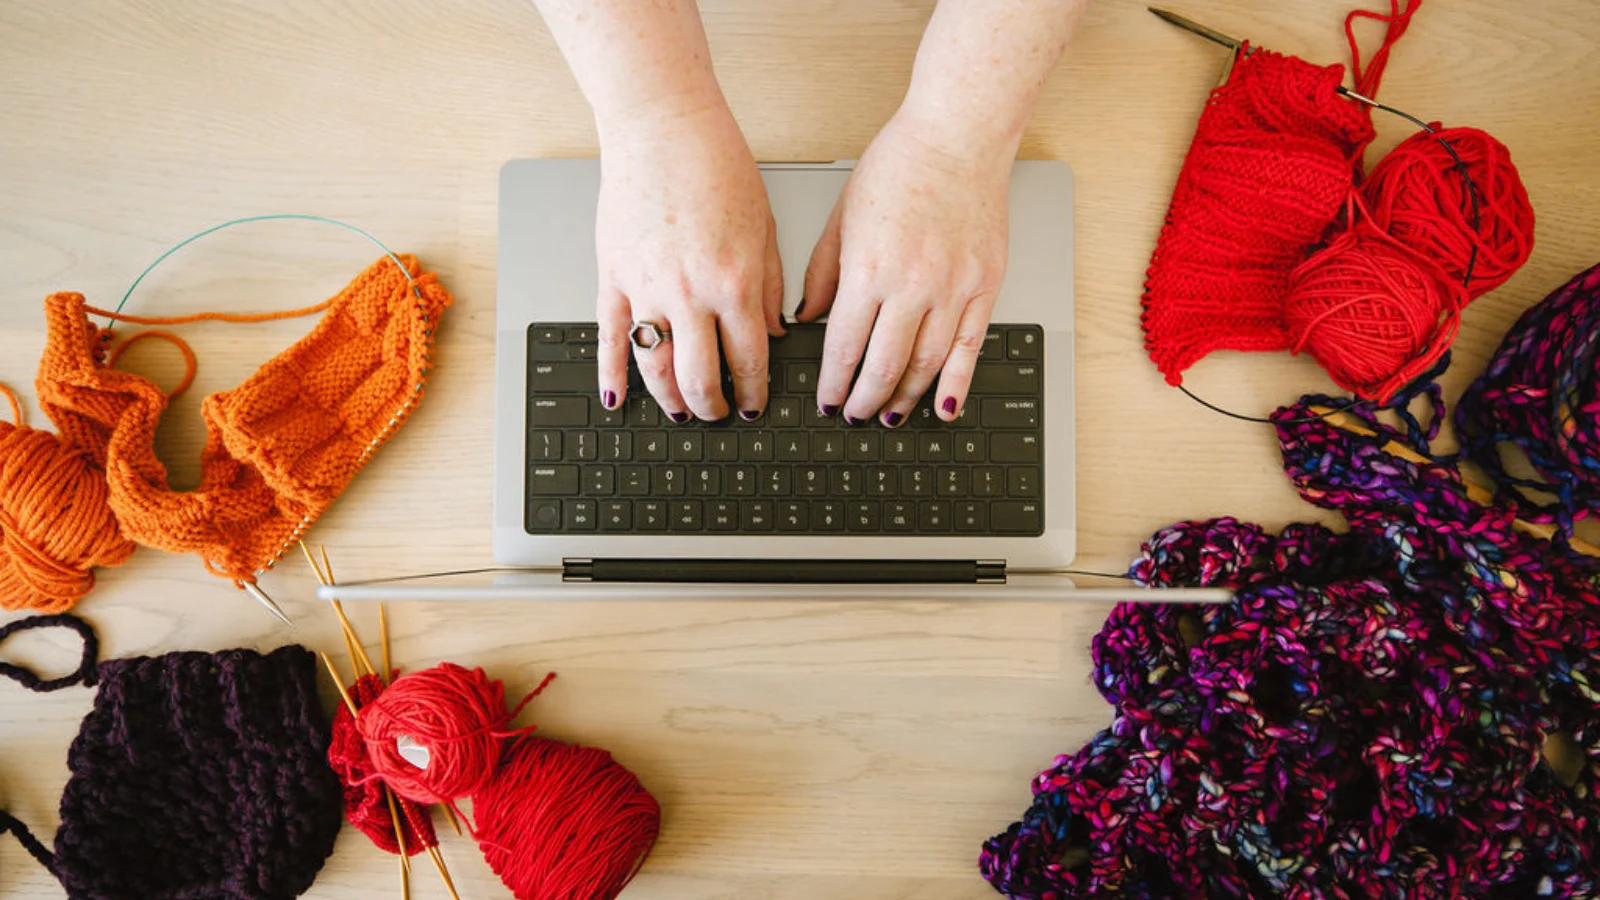
Being an “indie” pattern designer isn’t as independent as it sounds. Great knitting designs come from collaboration—and maybe a little luck. In this article, I’ll take you through my design process from concept to completion, sharing the trials and triumphs along the way.
Grading Knitting Patterns: Spreadsheets and Size Charts
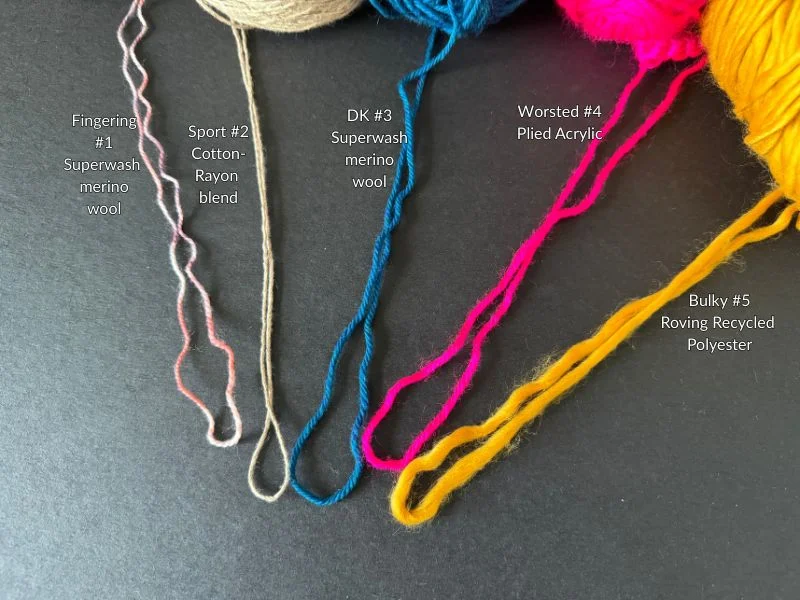
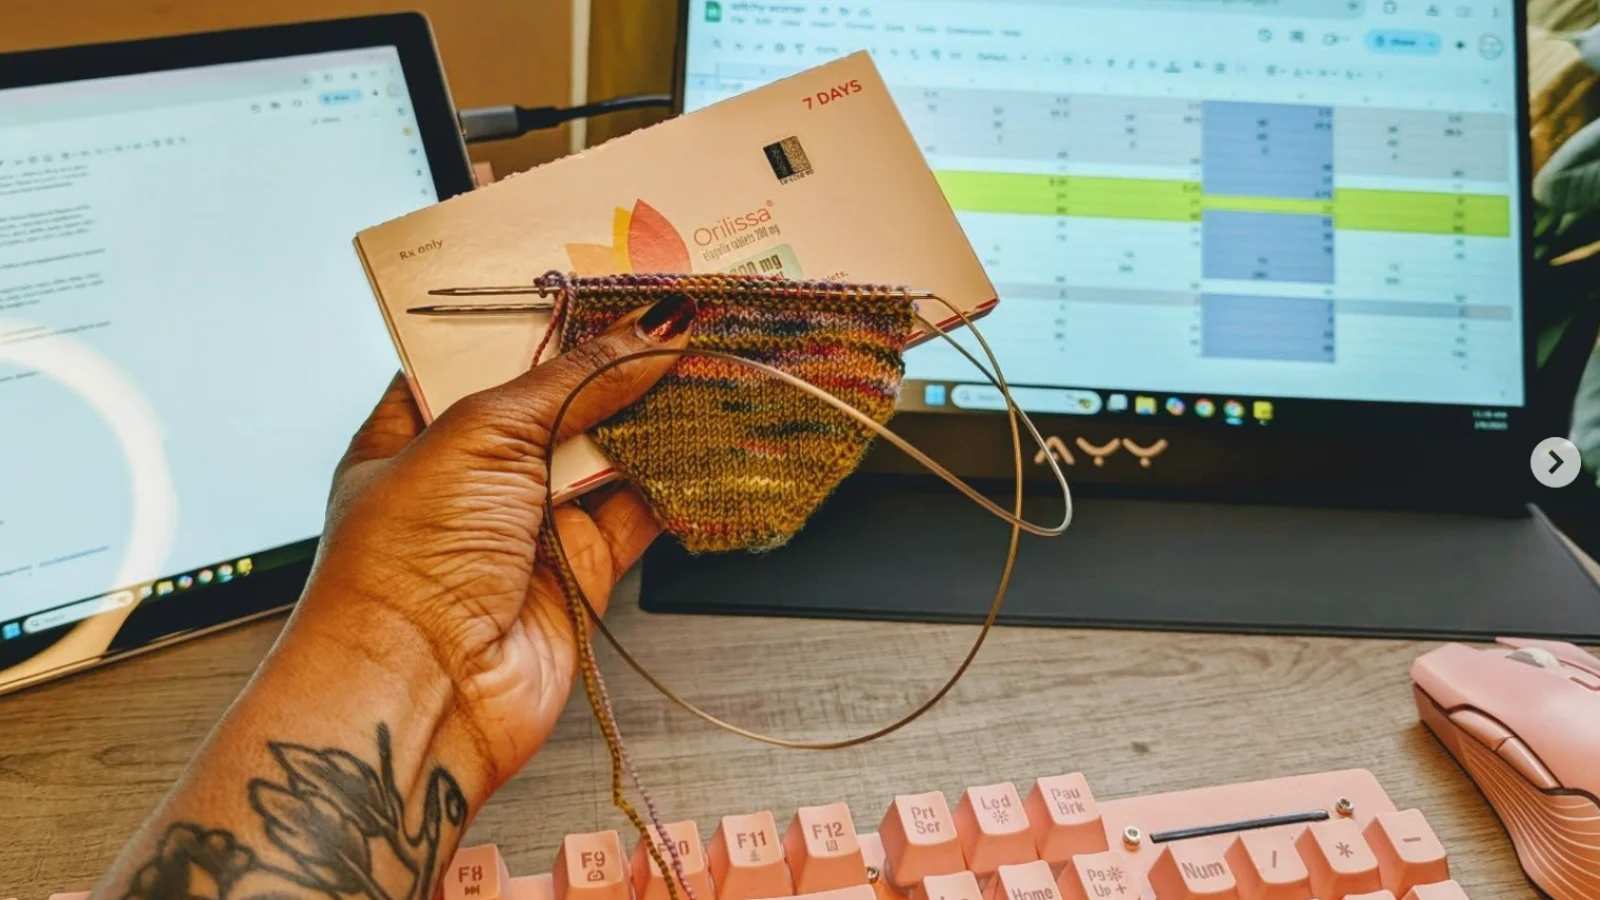
Once I knit a swatch in my desired yarn, I start plugging in numbers. Using simple math and size charts developed by Ysolda Teague and Kate Atherley, I spend a couple of days converting my idea into stitches, being sure to add “ease” so that the garment allows the wearer to move freely. I plug my numbers into Google Sheets so I have easy access to my design across all of my devices.
My spreadsheet reads like a knitting pattern, beginning with the cast-on and ending with the cast-off. For example, I’ll label a row as, “Knit x sts, ssk, k3.” I also include my gauge, body, and garment measurements and record yarn usage. Not only does this help me when I knit my sample, but it also helps create a rough draft for my knitting pattern in the future.As I grade my pattern—i.e., mathematically size the garment to fit an array of bodies—I make sure to check the proportions of my garment. For example, does the neckline of the 32-inch bust fit and lay the same as the 62-inch bust? Is the percentage of neck drop the same? Oftentimes, designers will create a design that’s mathematically correct, but won’t consider that the proportions of the design will change across different body types.
As a new designer, it’s hard to see where these discrepancies appear, which is why collaborating with a tech editor later is so important.
Getting Started as a Knitwear Designer: From Concept to Mood Board
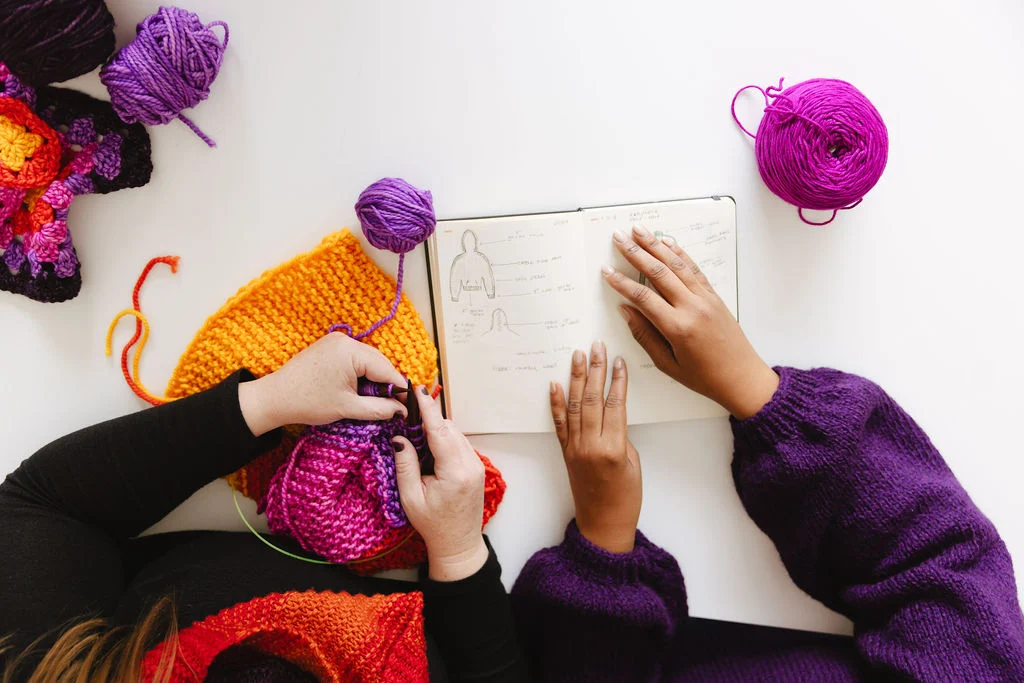
Many designers start their process with a sketch. I attended school for fashion editorial, so drawing is not my forte. Therefore, I do not begin my process with a sketch. Instead, I identify a “problem” (such as needing a size-inclusive cardigan with 90’s elements) and then create a mood board to demonstrate the solution.
Now, I want to focus on more of the technical aspects of creating knitwear design, but I will say that it is helpful to have your concept organized in a way that’s easy to email, as this will help when sharing your design with your collaborators (and we’ll get into collaborators here in a bit). For example, I share my mood board as a PDF file, which can be downloaded on any device.
Once I have my mood board created, I create a “Big Ol’ Swatch,” or as I like to call it, a “B.O.S.” At this point, you may not have your desired yarn yet. Still, it is helpful to swatch your motifs using comparable yarn because it allows you and prospective yarn companies to visualize your design. This preliminary “B.O.S.” will raise your chances of receiving yarn support by showing brands that you have a well-thought-out design.
Knitting the Sample and Drafting the Pattern
Before we send anything off to tech editing, we need a sample and a written pattern. Using my spreadsheet as my “pattern,” I begin knitting a sample, with hopes that my math is correct. This is where I typically find my first few mistakes.
For example, maybe that 1-inch dress strap was too narrow to hide a supportive bra, or maybe I want less ease in the bust and more in the sleeve. I’m sorry to say, but ripping back is part of the design process. Many of my designs are what I call “Frankensteins”—bits and pieces of my original concepts, often knit straight from the remains of a previous version. (Because honestly, who has time to rewind yarn into a ball?)
I typically find that once I have a few inches of knitting, the rest of the process is smooth sailing. At this point, it is full speed ahead. To ensure accuracy, any changes are corrected in the spreadsheet. Ultimately, it takes me one to three months to knit a design, depending on my teaching schedule—or how often I rip out my work!
Once I am happy with my design, I translate my numbers into a knitting pattern that is both enjoyable and easy to read. I write my entire process in Google Docs so it can be easily shared with my testers and tech editor in the future. This initial pattern is just the skeleton of the design. It includes the “pattern stats,” such as yarn amounts, gauge, materials, written instructions, and a schematic of the garment. I also insert clear photos of the design from different vantage points, so my tech editor can have an idea of what the garment is supposed to look like.
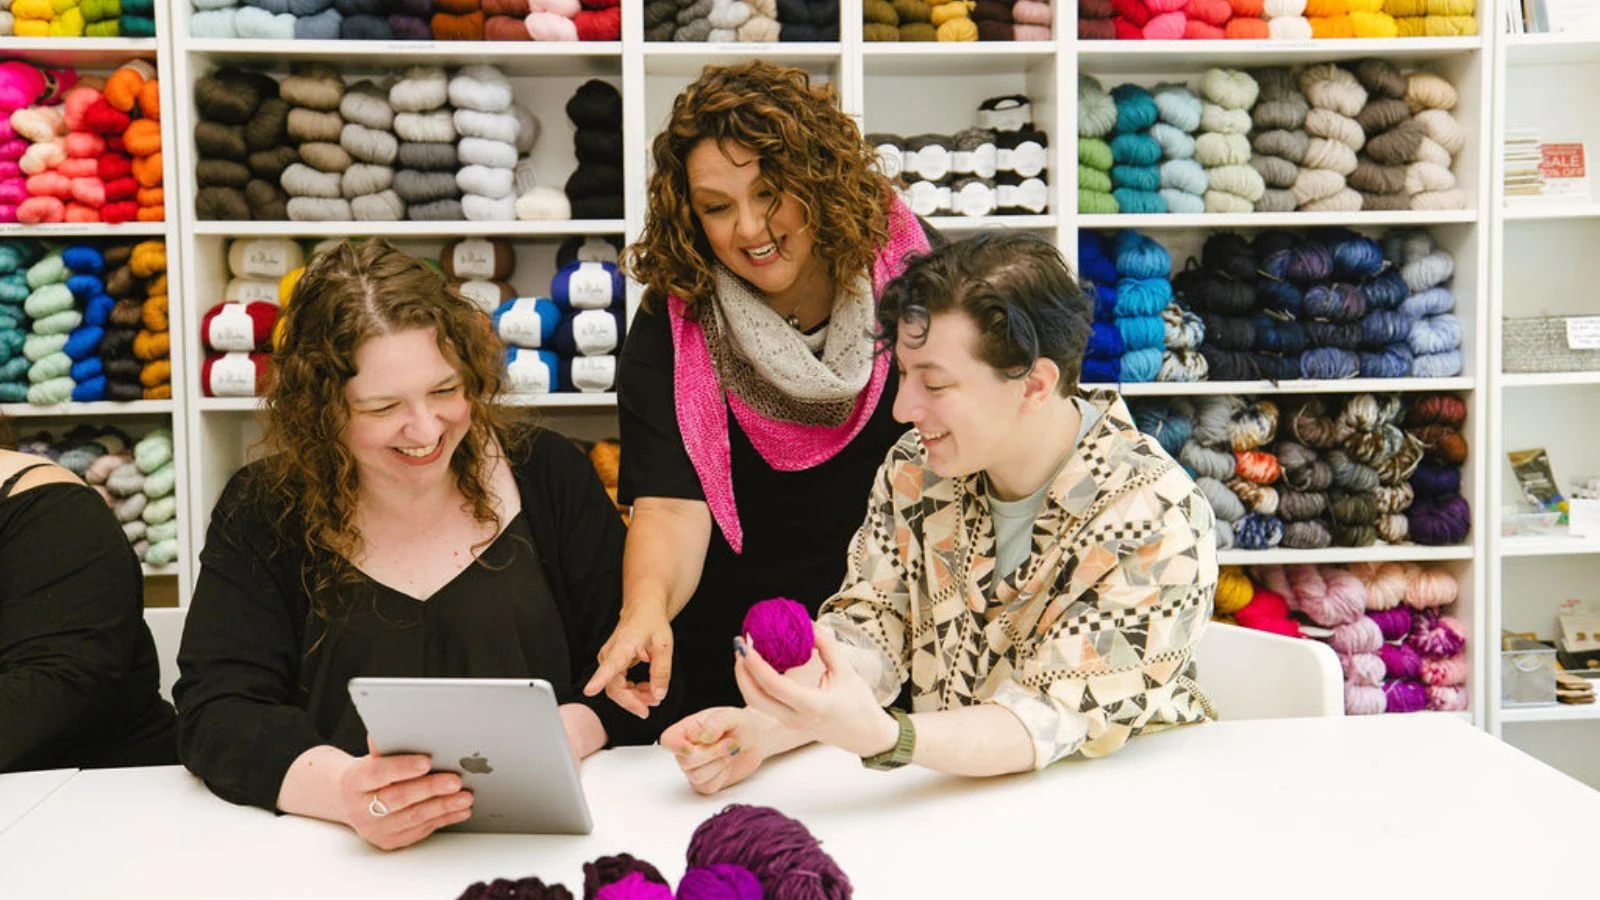
Working with a Knitting Tech Editor
Once the pattern draft is complete, it is time for my favorite part: tech editing. Typically, the tech editing process takes one to two weeks. A tech editor not only checks your math but also the clarity of your instructions. I would never release a pattern without tech editing.
Even though you’ve created the spreadsheet and working design, it is so helpful to have a fresh, unbiased set of eyes on your work. There is no true standard for pattern writing, so it’s very important to have someone who works in the industry double- and triple-check your work.
The Trifecta: Testing, Photography, and Pattern Reformatting
I like to call the next step in the process “The Trifecta,” because three things happen at once: testing, photography, and reformatting!
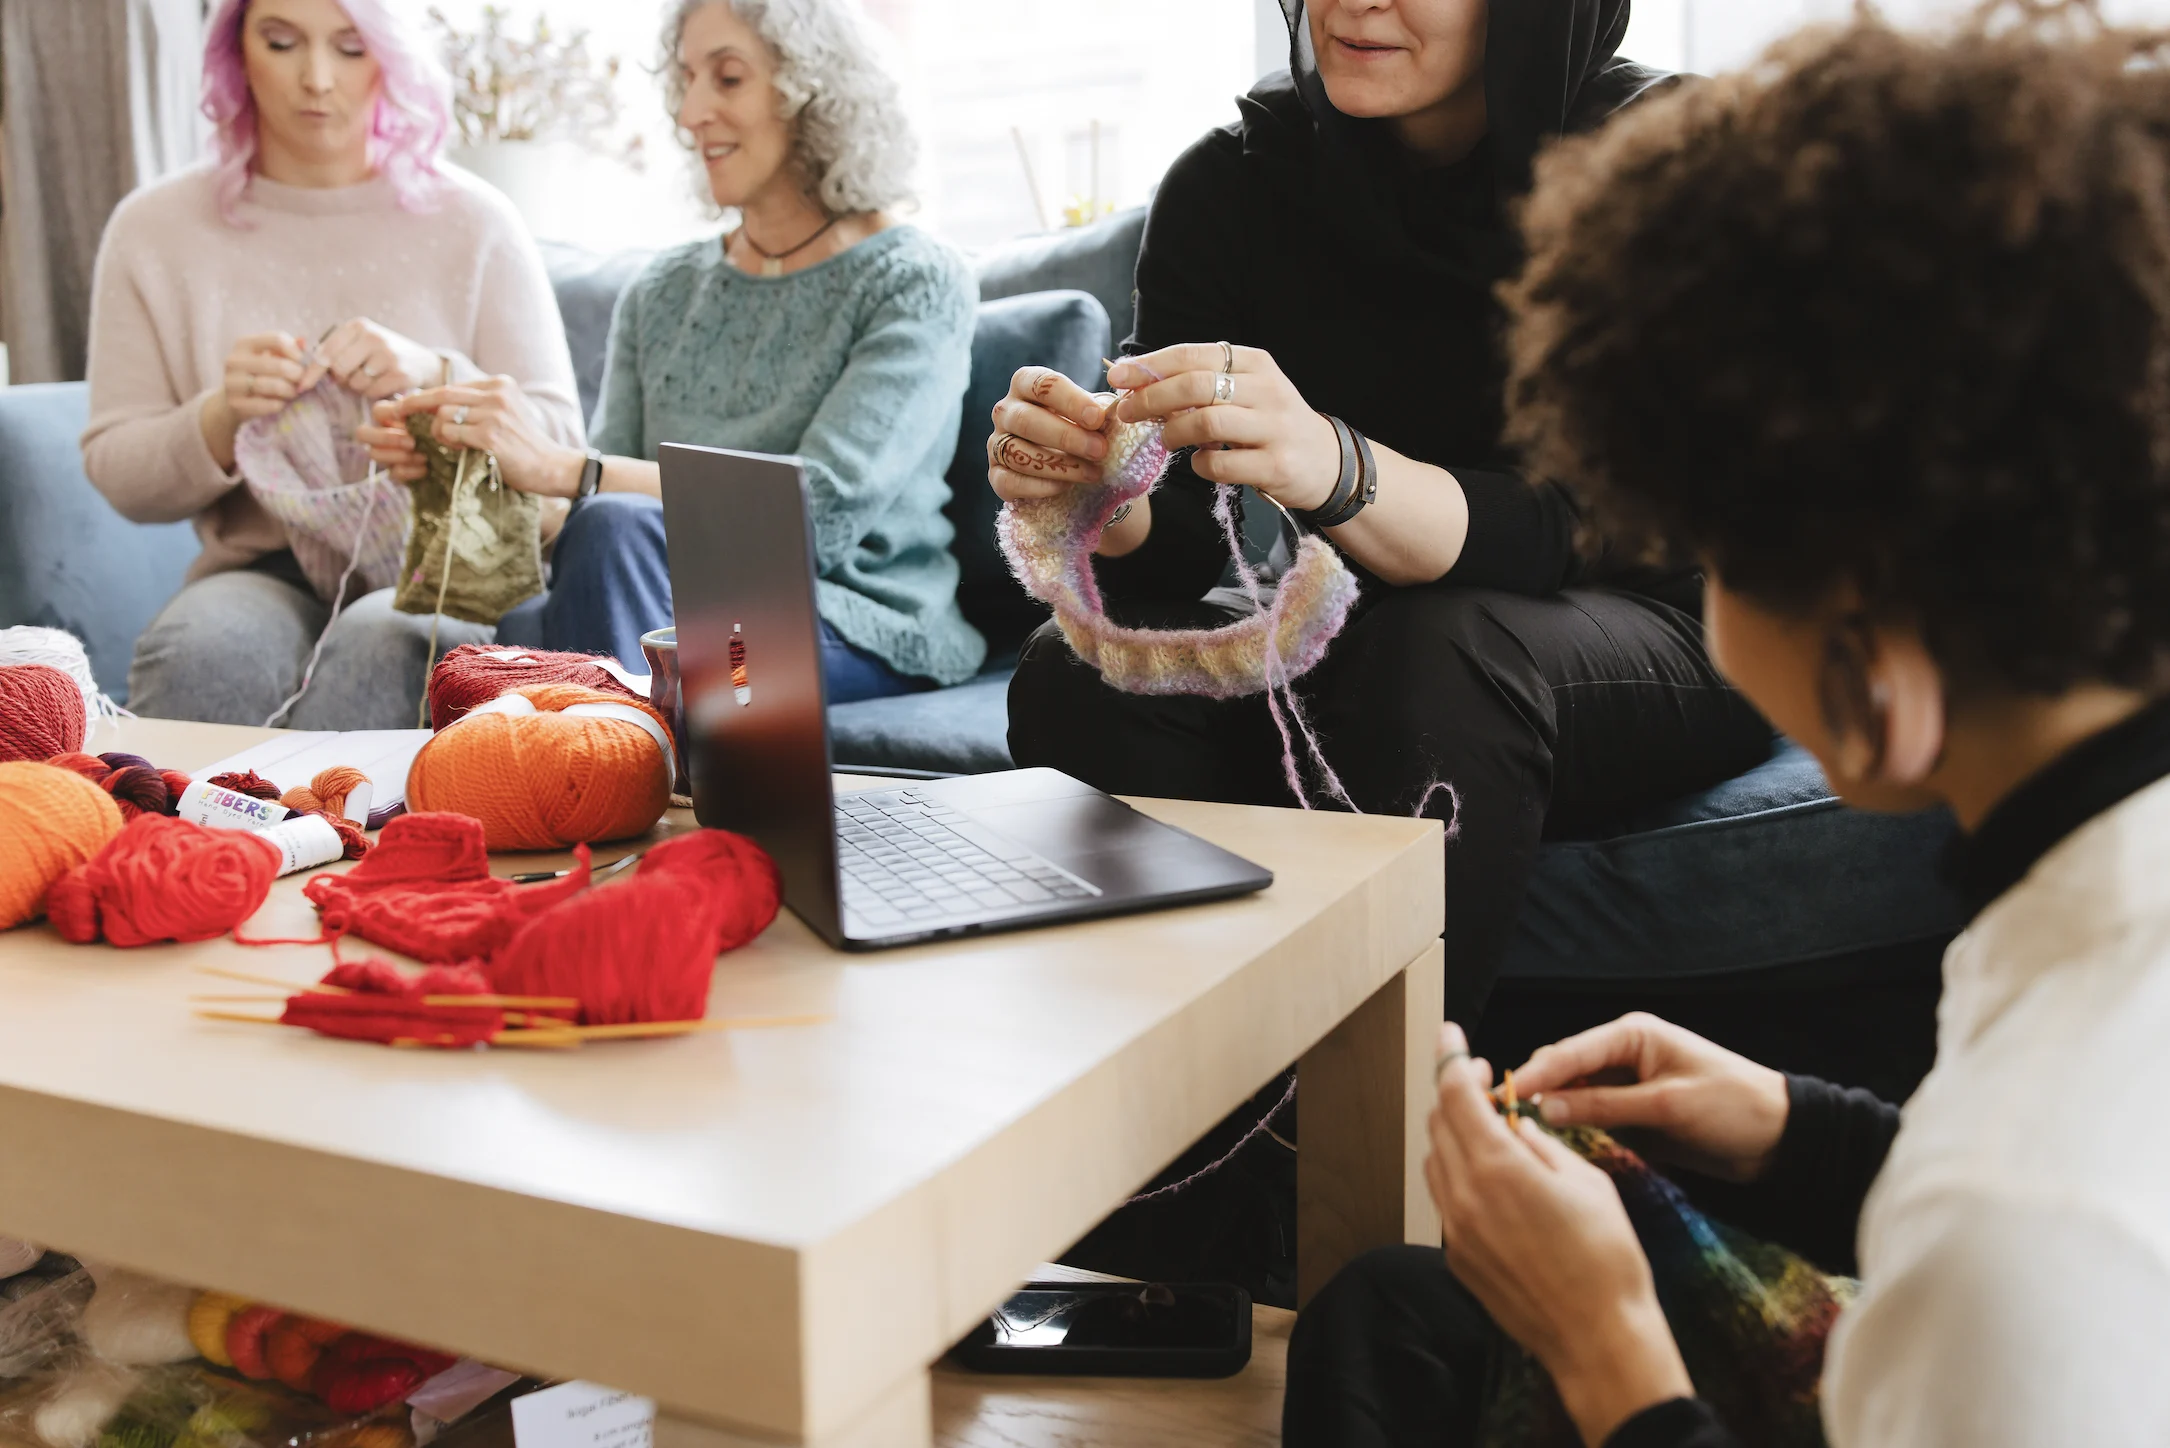
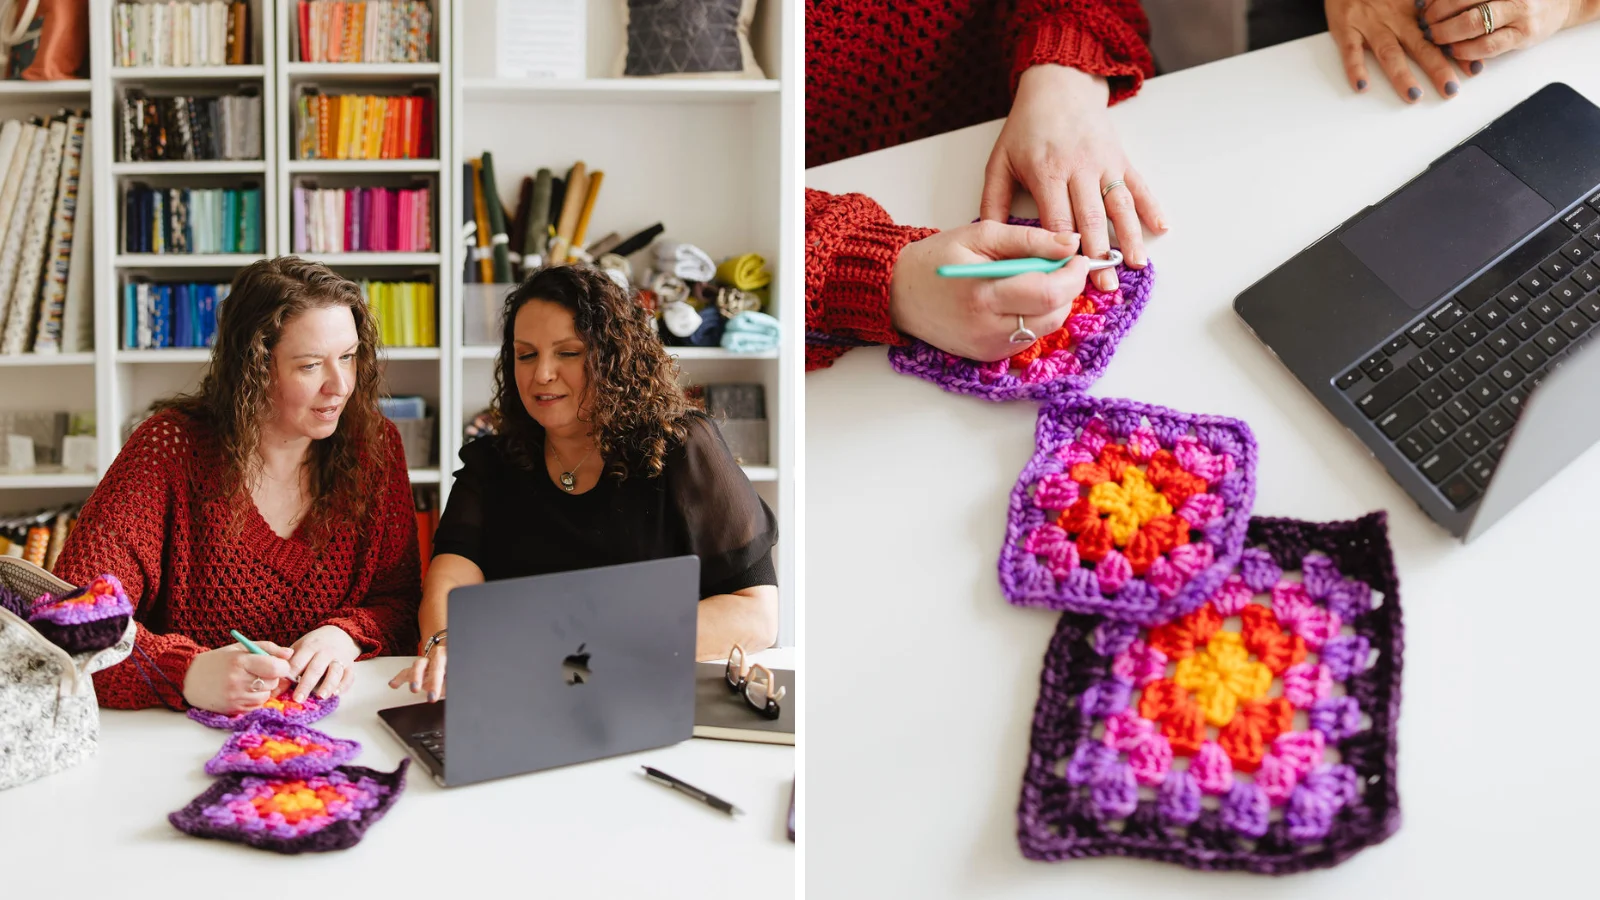
1. Rally Your Test Knitters
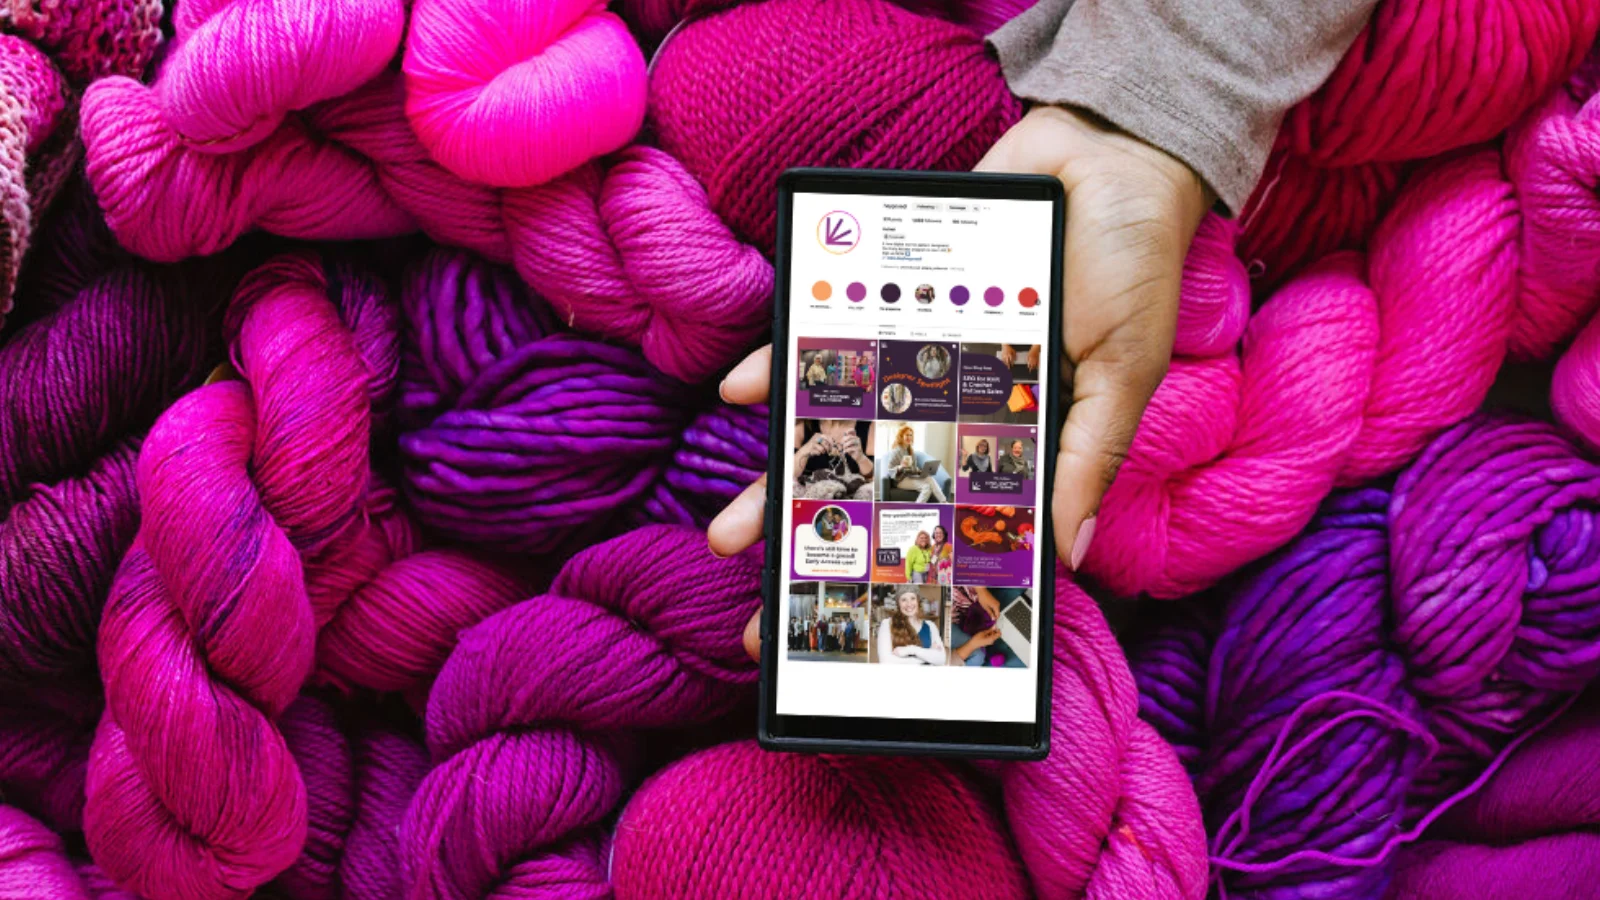
First, I send out a call for test knitters. I have a wonderful group of testers, but alternatively, you can find websites, Ravelry groups, and Instagram accounts dedicated to sharing test knits.
I treat my testers as if they are my future knitters; therefore, I do not have rules beyond respecting the deadline (which is typically two to three months). They can knit any size, choose any yarn, and make any changes. At this point, the pattern has already been knit and tech edited, so there should not be mathematical errors. The testers are there to prove to your future knitters that your pattern works and that it looks great on different body types. Of course, my testers make notes about the clarity of the instructions or any size discrepancies, but these are typically very minimal, making for a drama-free test knit for everyone!
2. Hire a Photographer to Snap Pics of Your Knits
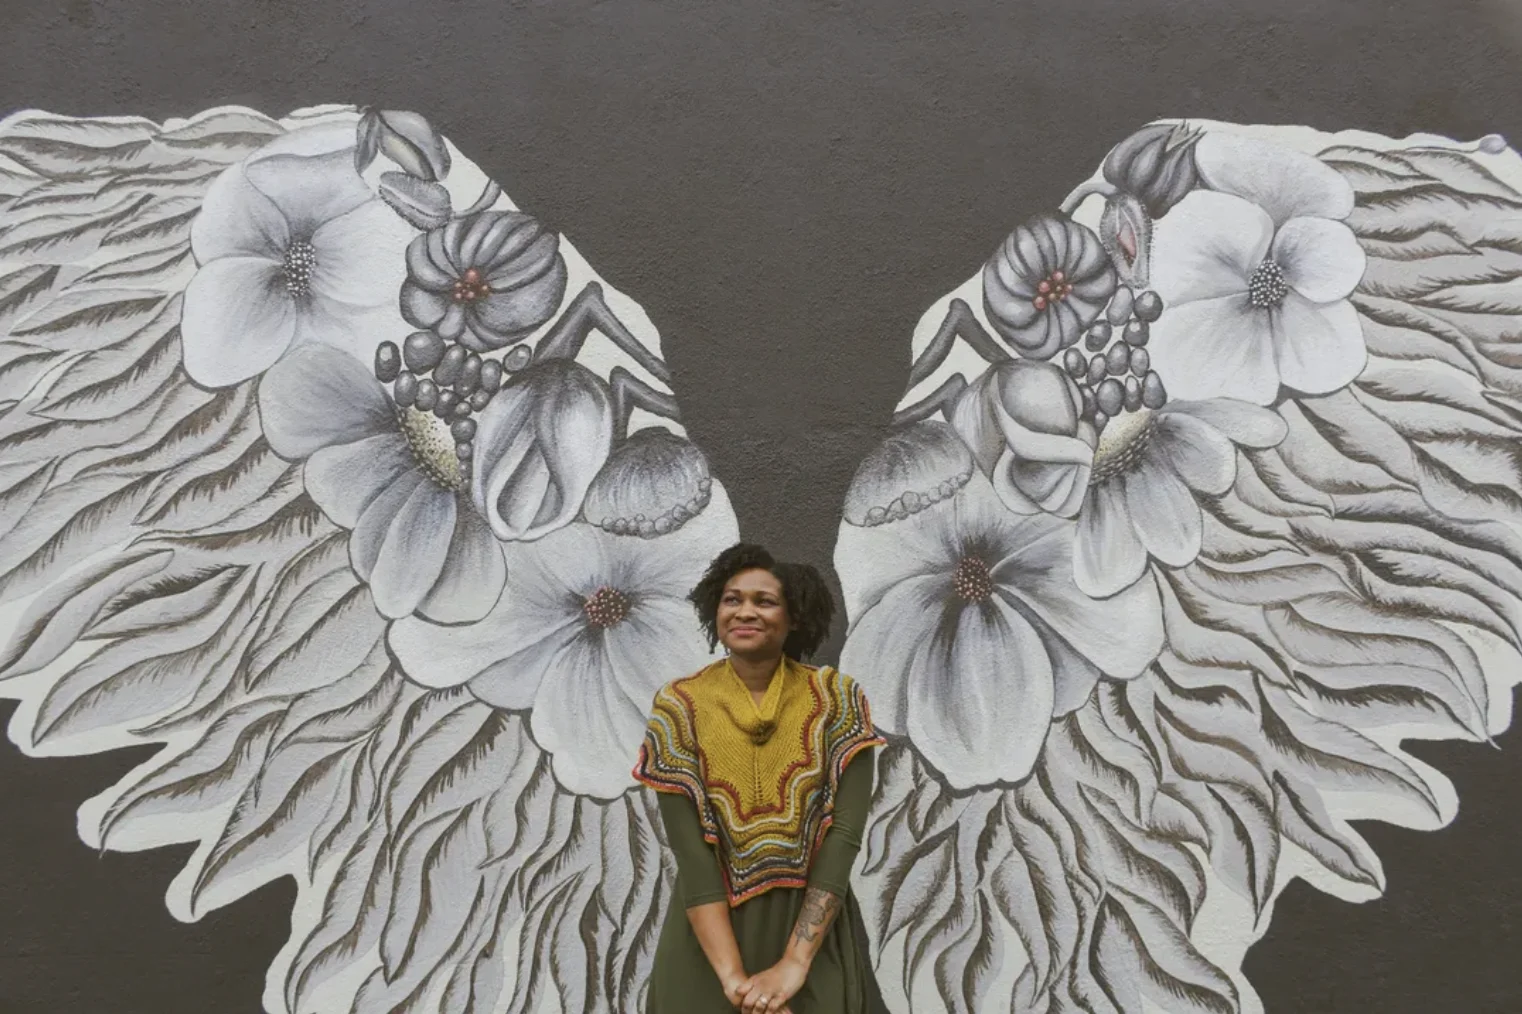
As soon as the test knit is in session, I reach out to my photographer to schedule a shoot. Hiring a photographer was a big step for my little business, but professional photos add credibility to a design. Our industry is incredibly saturated, and product photos will be your main selling point.
Photographers come in at different price ranges, and they don’t have to specialize in knitwear photography. And remember that moodboard from the brainstorming stage? I always send it over to my photographer to help guide them.
3. Reformat Your Knitting Pattern
The final piece of “The Trifecta” is reformatting. Google Docs is great for plain documents, but a knitting pattern should be both beautiful and functional. Knitting is a hobby, and many knitters want to relax and unwind after work. And they want to work from a pattern that is both beautiful and useful.
I went to school for editorial, so I have a bit of an advantage here, but you don’t have to be Anna Wintour to create a beautiful pattern. Here’s a secret I haven’t told anyone: I created my knitting pattern by searching for “minimalistic magazine templates” in Canva. Of course, a magazine template would have more photos than a knitting pattern, so I limit the photos to the opening pages of the pattern. This allows knitters to choose if they wish to print them or not. Which brings me to my next point…
Make Your Pattern Print-Ready: Copyediting and Final Touches
Remember, it is important to think about the knitter’s experience: Is your pattern good for printing? Is the font large enough? Are there clear photos? Did you add your name, pattern support information, and copyright? At this point, you may want to hire a copyeditor to check your work, or run the reformatted pattern past your tech editor one last time. Meanwhile, the testing process is usually wrapping up, and I make sure to look over my testers’ notes and make any necessary changes to the pattern.
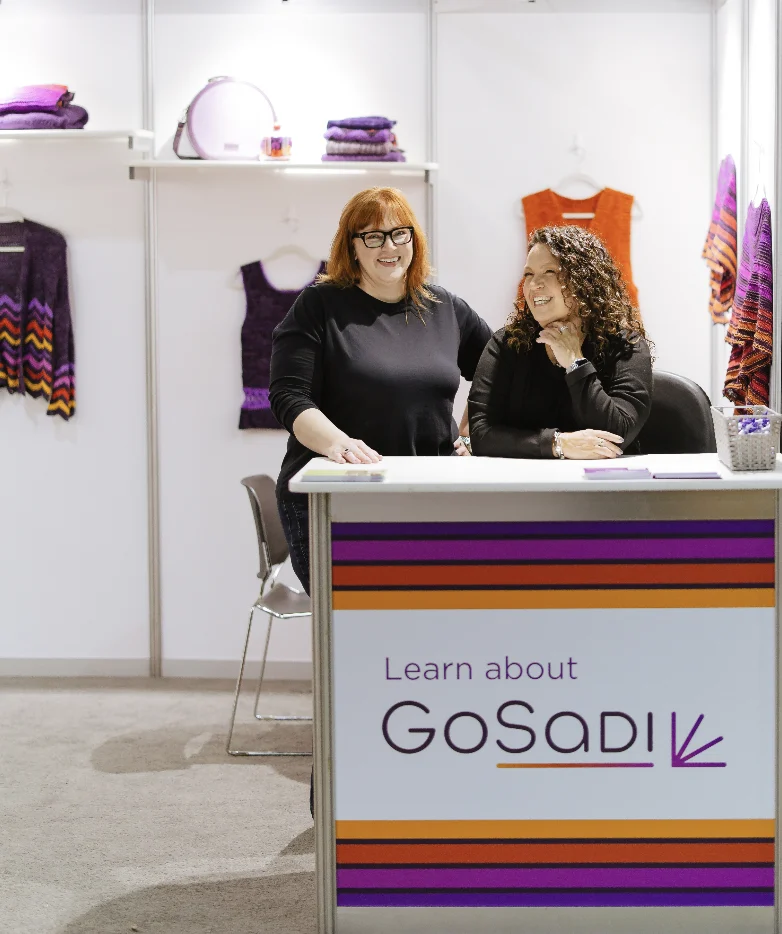
Now, approximately five months after creating my mood board, I have a written and edited pattern, beautiful high-resolution photos, and my test knitters are ready to share their fasten-offs. From there, I upload my design to Gosadi and “that’s all she wrote!” Sure, five months may sound like a long turnaround time, but this is a product that you can sell for the rest of your life. And the more work you put in before the release date, the less maintenance your pattern will require.
Since adopting this method, I’ve sold countless patterns (maybe one day, I will remember to tally all my sales, but it must be in the thousands by now, which is unbelievable), and I rarely get pattern support requests. And let me tell you, as a designer, there’s nothing better than happy knitters.
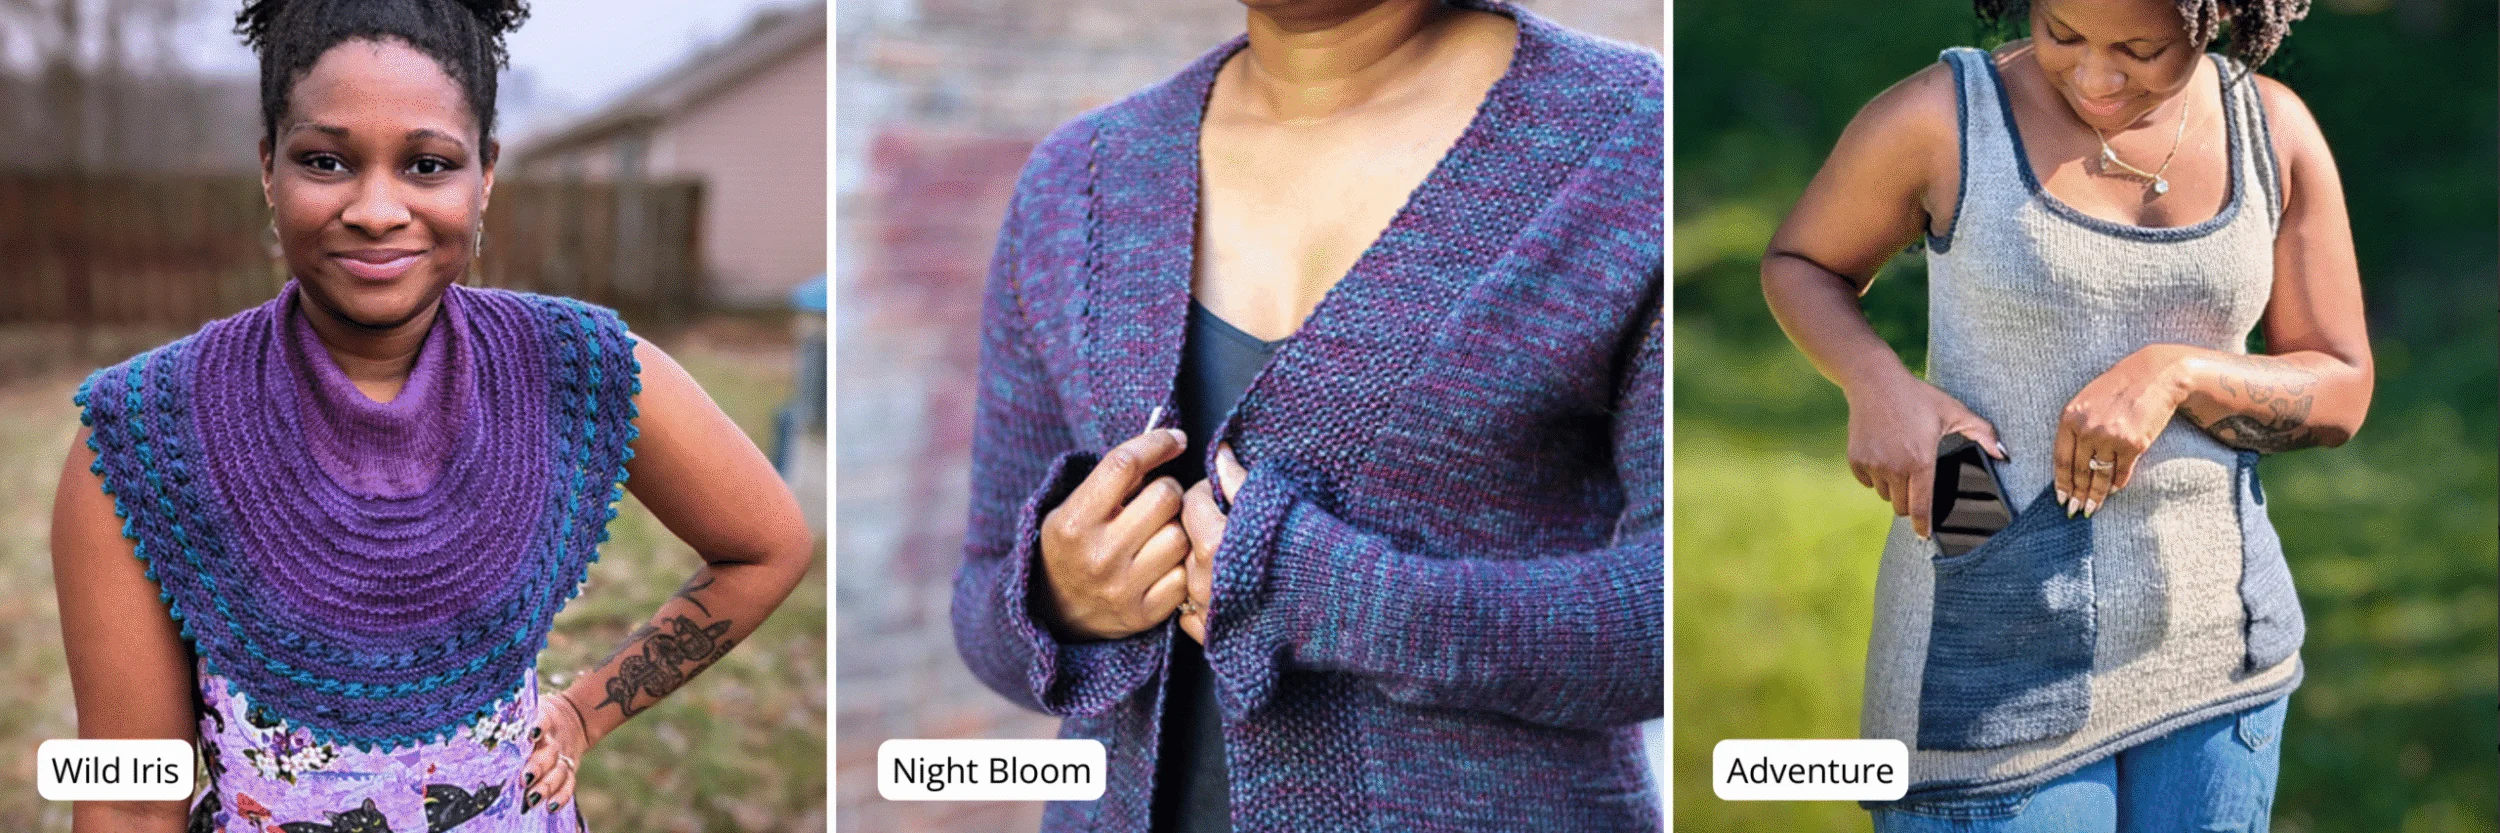
Curious about Safiyyah’s designs? Explore some of her popular patterns: