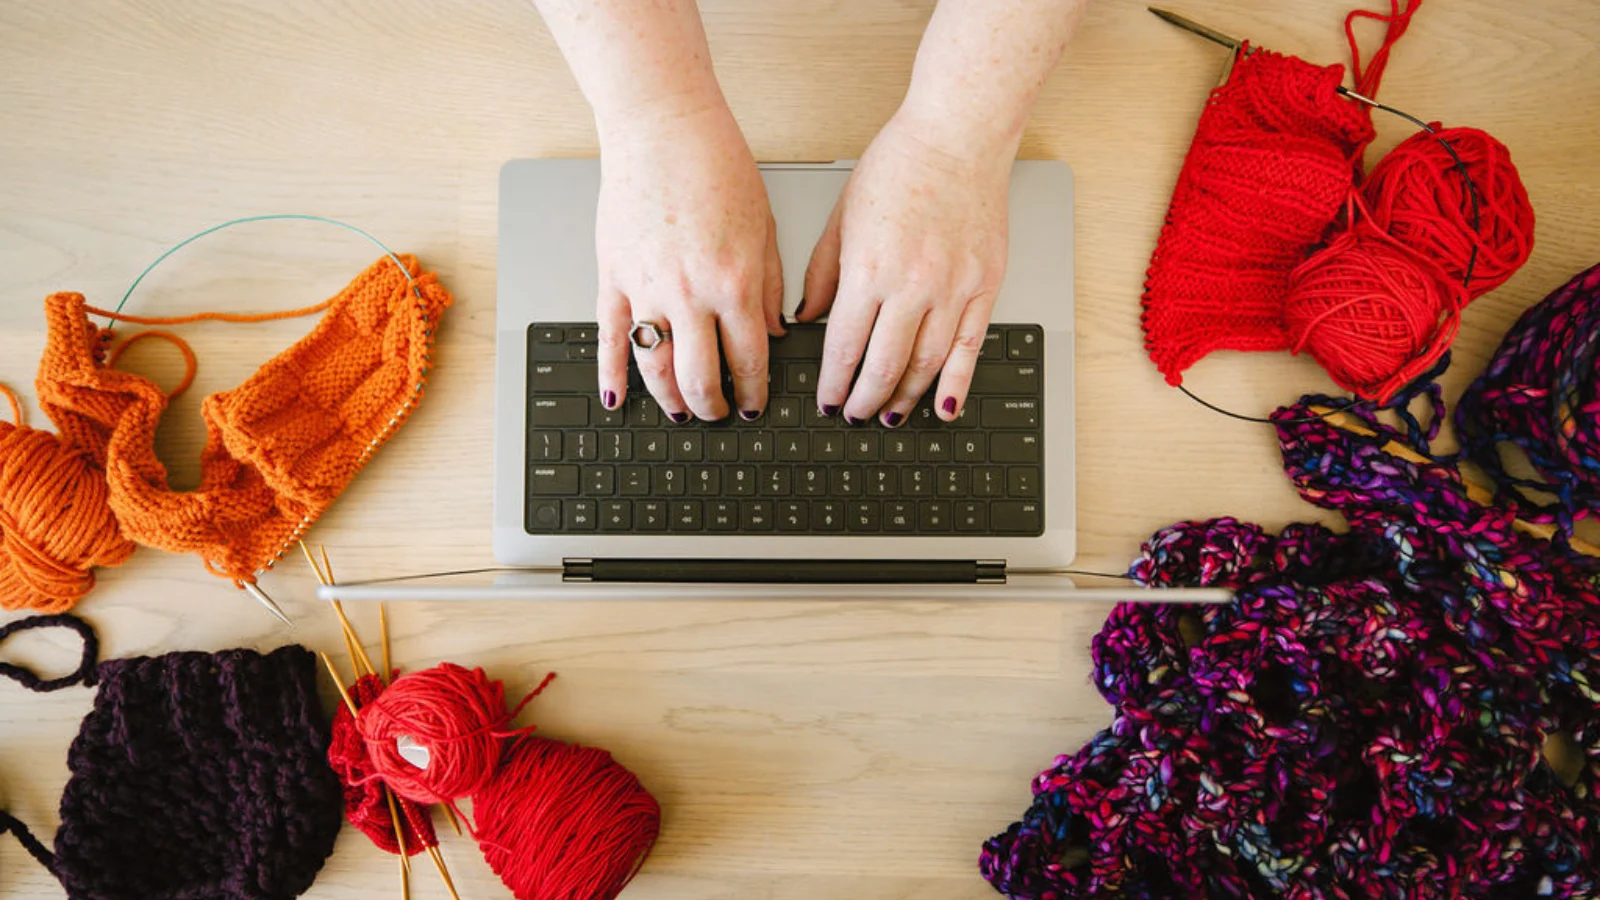
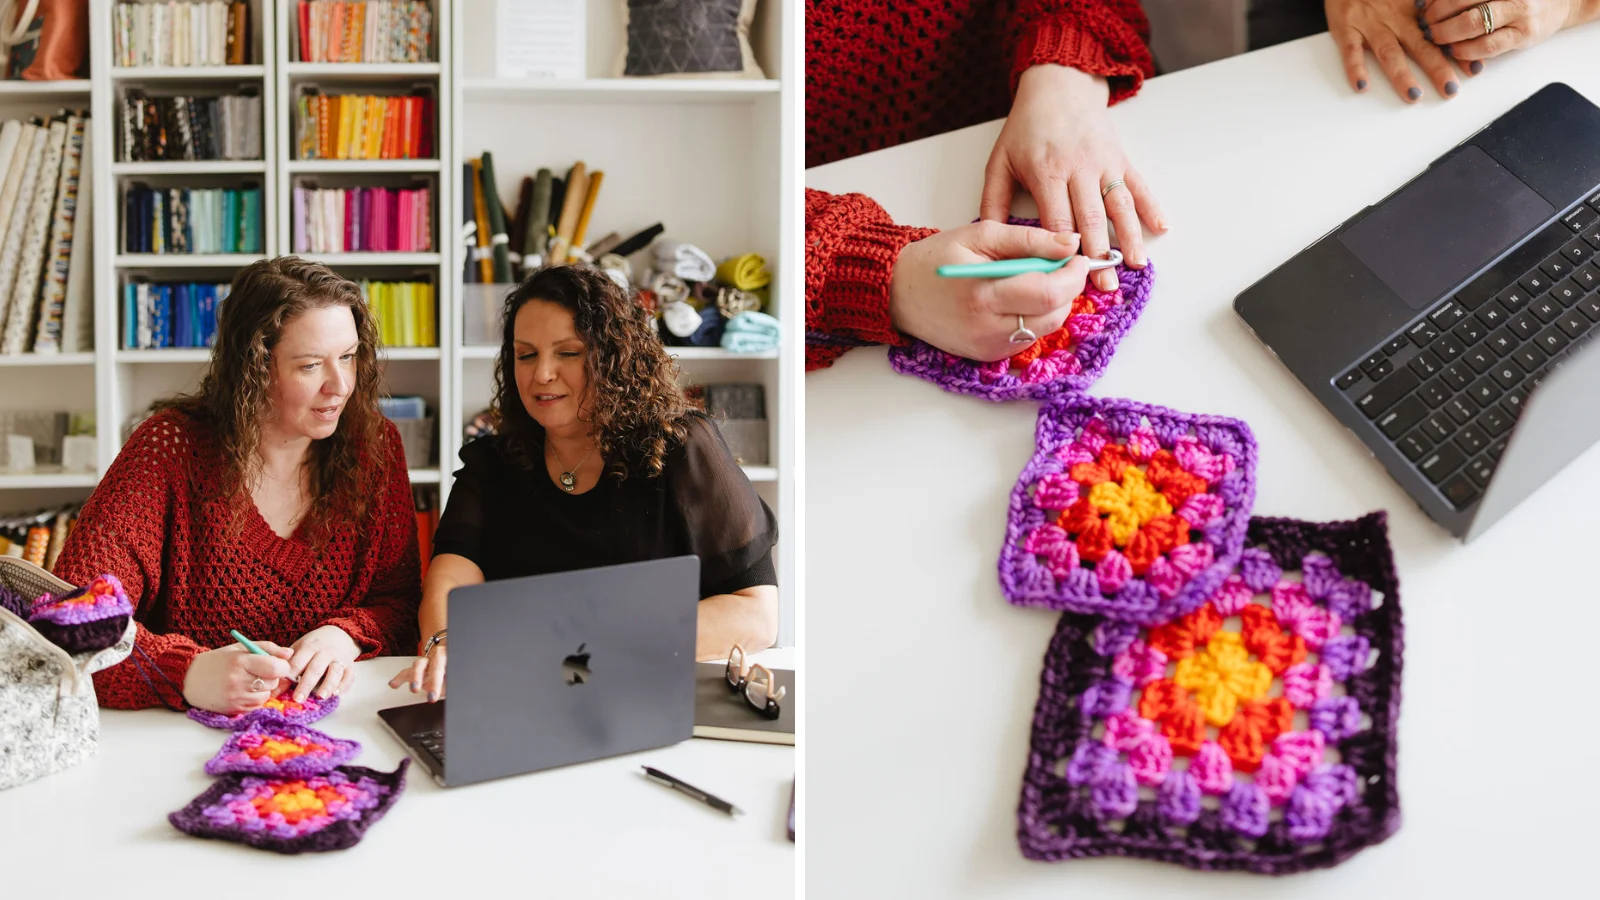
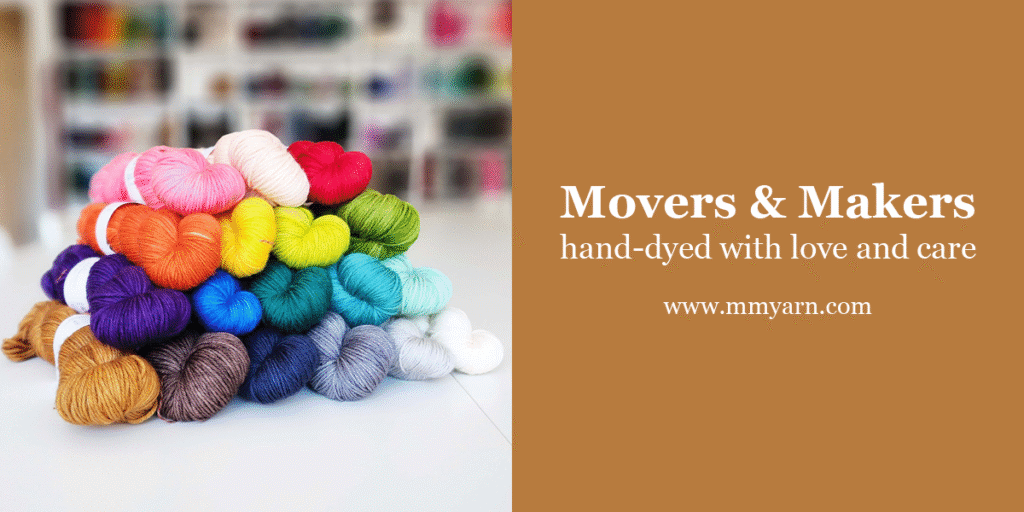
Congratulations–you’re almost ready to put your first pattern out into the world! You’ve written it, worked up a sample, and run the pattern by a technical editor. The last stage before publishing is formatting. If you aren’t sure what to include in your layout, we’ve put together a helpful guide.
So, what should your pattern layout include? Let’s talk about the individual elements that make up a well-written pattern.
cover page
While a cover page is entirely optional for most designers, it can be a nice place to showcase a great photo or provide a good introduction for people buying patterns in person at a yarn shop or show. If you are including a cover page, it will be the first thing your customers see and should include the pattern name, your name, any pertinent contact information (like your email or website address) and a photo of your pattern. Remember, people printing at home will have the option to skip printing this but for digital downloads, a great cover page stands out in the library.
pattern name
When coming up with a great name for your pattern, look at what’s already out there. You want your pattern to show up in search engine results and searchable databases without a bunch of competing patterns appearing alongside it, so choosing a less-used name or going with a name that speaks to the inspiration of your design is a great route. Instead of “Basic Garter Stitch Scarf” maybe try “Ridged Beginner’s Scarf” or even name it for a person or pet you love, such as “Maisy’s Beginner Scarf”. You might consider running a search on your name through Google and your favorite searchable pattern websites.
flavor text / pattern description
While not required, sometimes a little “flavor ” text, or a gussied-up description of your pattern, why it exists and what makes it special, is a great way to start your pattern. Make sure to note any defining features like unusual construction methods or special fit or function here. While it’s called flavor text, there’s no reason it has to be fancy. Feel free to just quickly describe the pattern as technically as you prefer.
needles & hooks
Note which needle or hook sizes you’ve used in the pattern. We recommend including both the English and Metric notations so that international customers don’t need to make conversions themselves. If you used more than one needle or hook size, list them smallest to largest.
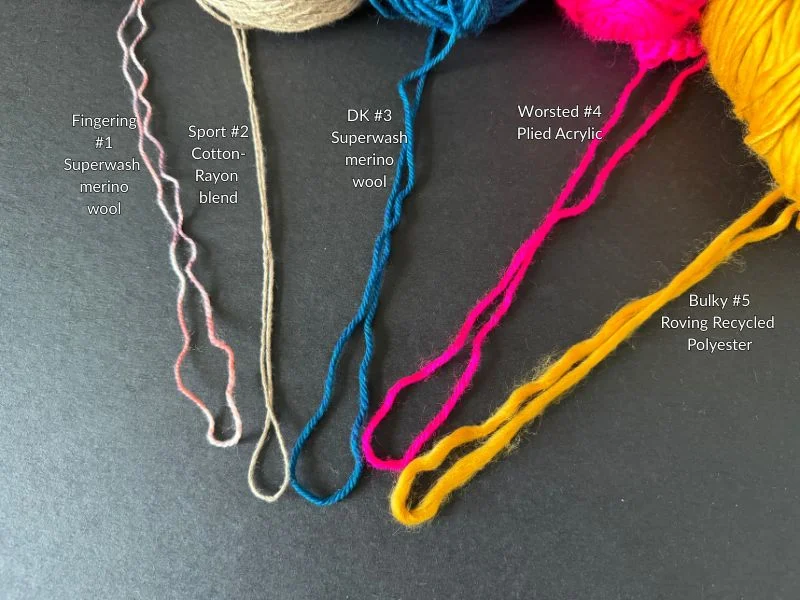
yarn & yarn substitutions
Make a note of the yarn you used for the original sample, with details about the company, yardage, weight of the skein (in grams or ounces) and material weight (fingering, sport, dk, etc.) and the colorway you’ve used for your sample.
With the help of your tech editor, make sure to note how many yards were used for your sample and approximately how much yarn is needed for each of the sizes you’re offering. Make sure you include notes about any color changes (for example, in color-work patterns) and have those specific breakdowns of yardage to make substitutions easy.
Your future customers will also thank you if you make notes about why you’ve chosen this yarn and if it has any special characteristics (for example, you may have chosen a yarn with alpaca and silk because you want lots of drape, or a particularly round, multi-plied yarn to show off textured stitches). Suggest a few alternatives if possible at different price points for customers who might not be familiar with your preferred material. Aren’t sure where to start? Visit our friends at www.yarnsub.com.
notions
Does your pattern require any additional tools or items outside of yarn? If your pattern is easier to make with stitch markers, scissors or a tapestry needle, make a note here. If your pattern uses buttons, pom-poms or ribbon, make sure it’s also noted.
gauge
This is super important! Make sure you include it in all your patterns. Gauge is the key to your customers getting the same results. If your pattern predominantly features a textured stitch, use that stitch for gauge, but if your pattern features smooth areas + a textured stitch pattern, you may want to showcase the gauge in both a smooth stitch (like stockinette or double crochet) and in the textured stitch. Make sure to note which needle or hook size is used. Gauge is traditionally presented as a formula: x stitches by x rows = 4” (10 cm) in x stitch on x size needles/hook.
sizing
Does your pattern feature multiple sizes? Make sure to note them all here. If your pattern involves some element of fitting to the human body (like a sock, sweater or handwarmers), make sure to include the “to fit” and “actual” measurements, and make notes about any ease built into the pattern, or recommended ease for ideal fit. If you have a schematic of the pattern with measurements, make note of which page of the pattern it is listed on, or include it in the same area as sizing in your pattern.
sample size
Make note of which sample size was created for the photography included with your pattern. If your pattern features several different samples, make note of each size made and which color (or other identifying feature) so readers can tell the difference and get a feel for fit. It’s always worth it to make sure you know your model’s measurements so you can calculate the exact amount of ease shown.
skill level
Want to designate if a pattern is hard, easy, or intermediate? Include a skill level somewhere easy to find for your readers so they know if this pattern will challenge them or makes for great tv-crafting.
abbreviations
This section of your pattern outlines all of the abbreviations used within the pattern. If you abbreviate anything (knit, purl, single crochet, half double crochet), make sure you note it here. This list is usually presented in alphabetical order, but can sometimes be organized by the order of appearance within the pattern. The CYC has a standardized list of abbreviations to pull from.
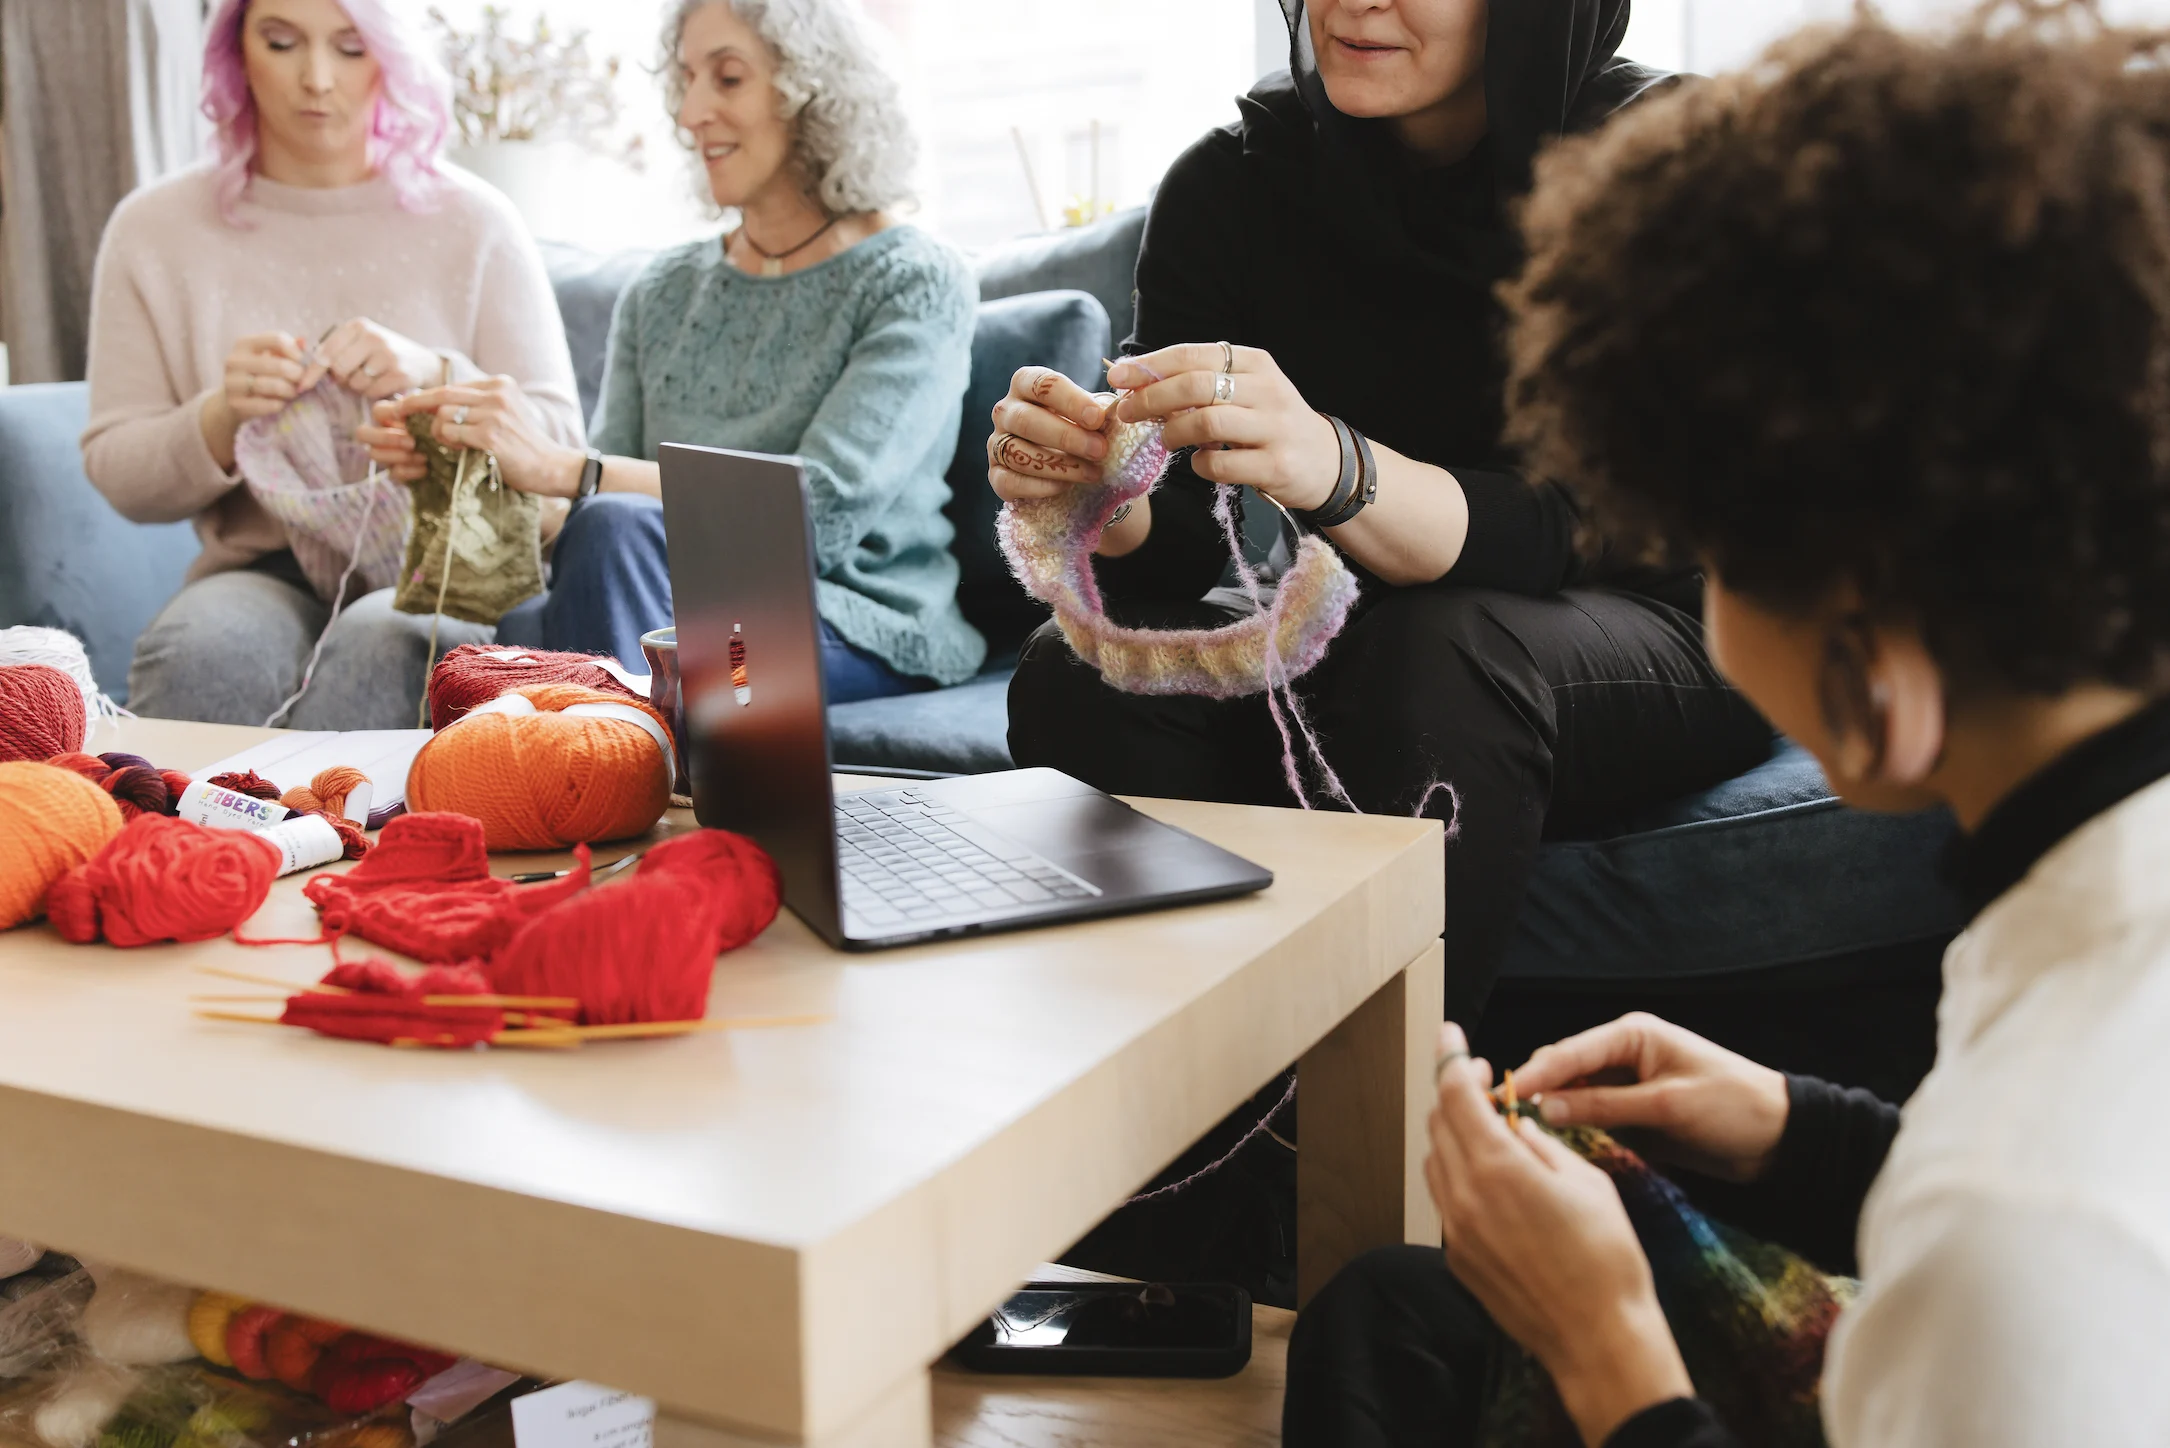
special techniques / stitch patterns
Does your pattern use a special technique to create a buttonhole, cast on or bind off? Any time you use a stitch pattern that requires extra explanation, it’s a good idea to add it to the Special Techniques section or Stitch Pattern area of your pattern. If you want to be extra-helpful, include a link to a tutorial or video so your customer can see how to do this technique. This is also a great way to lead back to your own site by creating your own tutorials for stitches you commonly feature!
notes
Do you have any additional things to add about the structure of the pattern, the way the garment is put together, or special things you think your reader should notice? Include them within a notes section. These can be simple, like an instruction to slip the first stitch of every row, or more complex, like the need to move a stitch marker one space to the side every 5th row throughout.
pattern instructions
The body of your pattern is the instructions. Traditionally, patterns are outlined with subheaders and then each row of the pattern or new action is presented as an individual line or paragraph within the pattern. Think about pattern flow and consider adding call-out boxes or a little icon to highlight important points throughout. Using bolded text, bullet points, and different font sizes can help without compromising accessibility. Remember that screen reader software (used by low-vision crafters) may not read italics and can have issues with serif fonts.
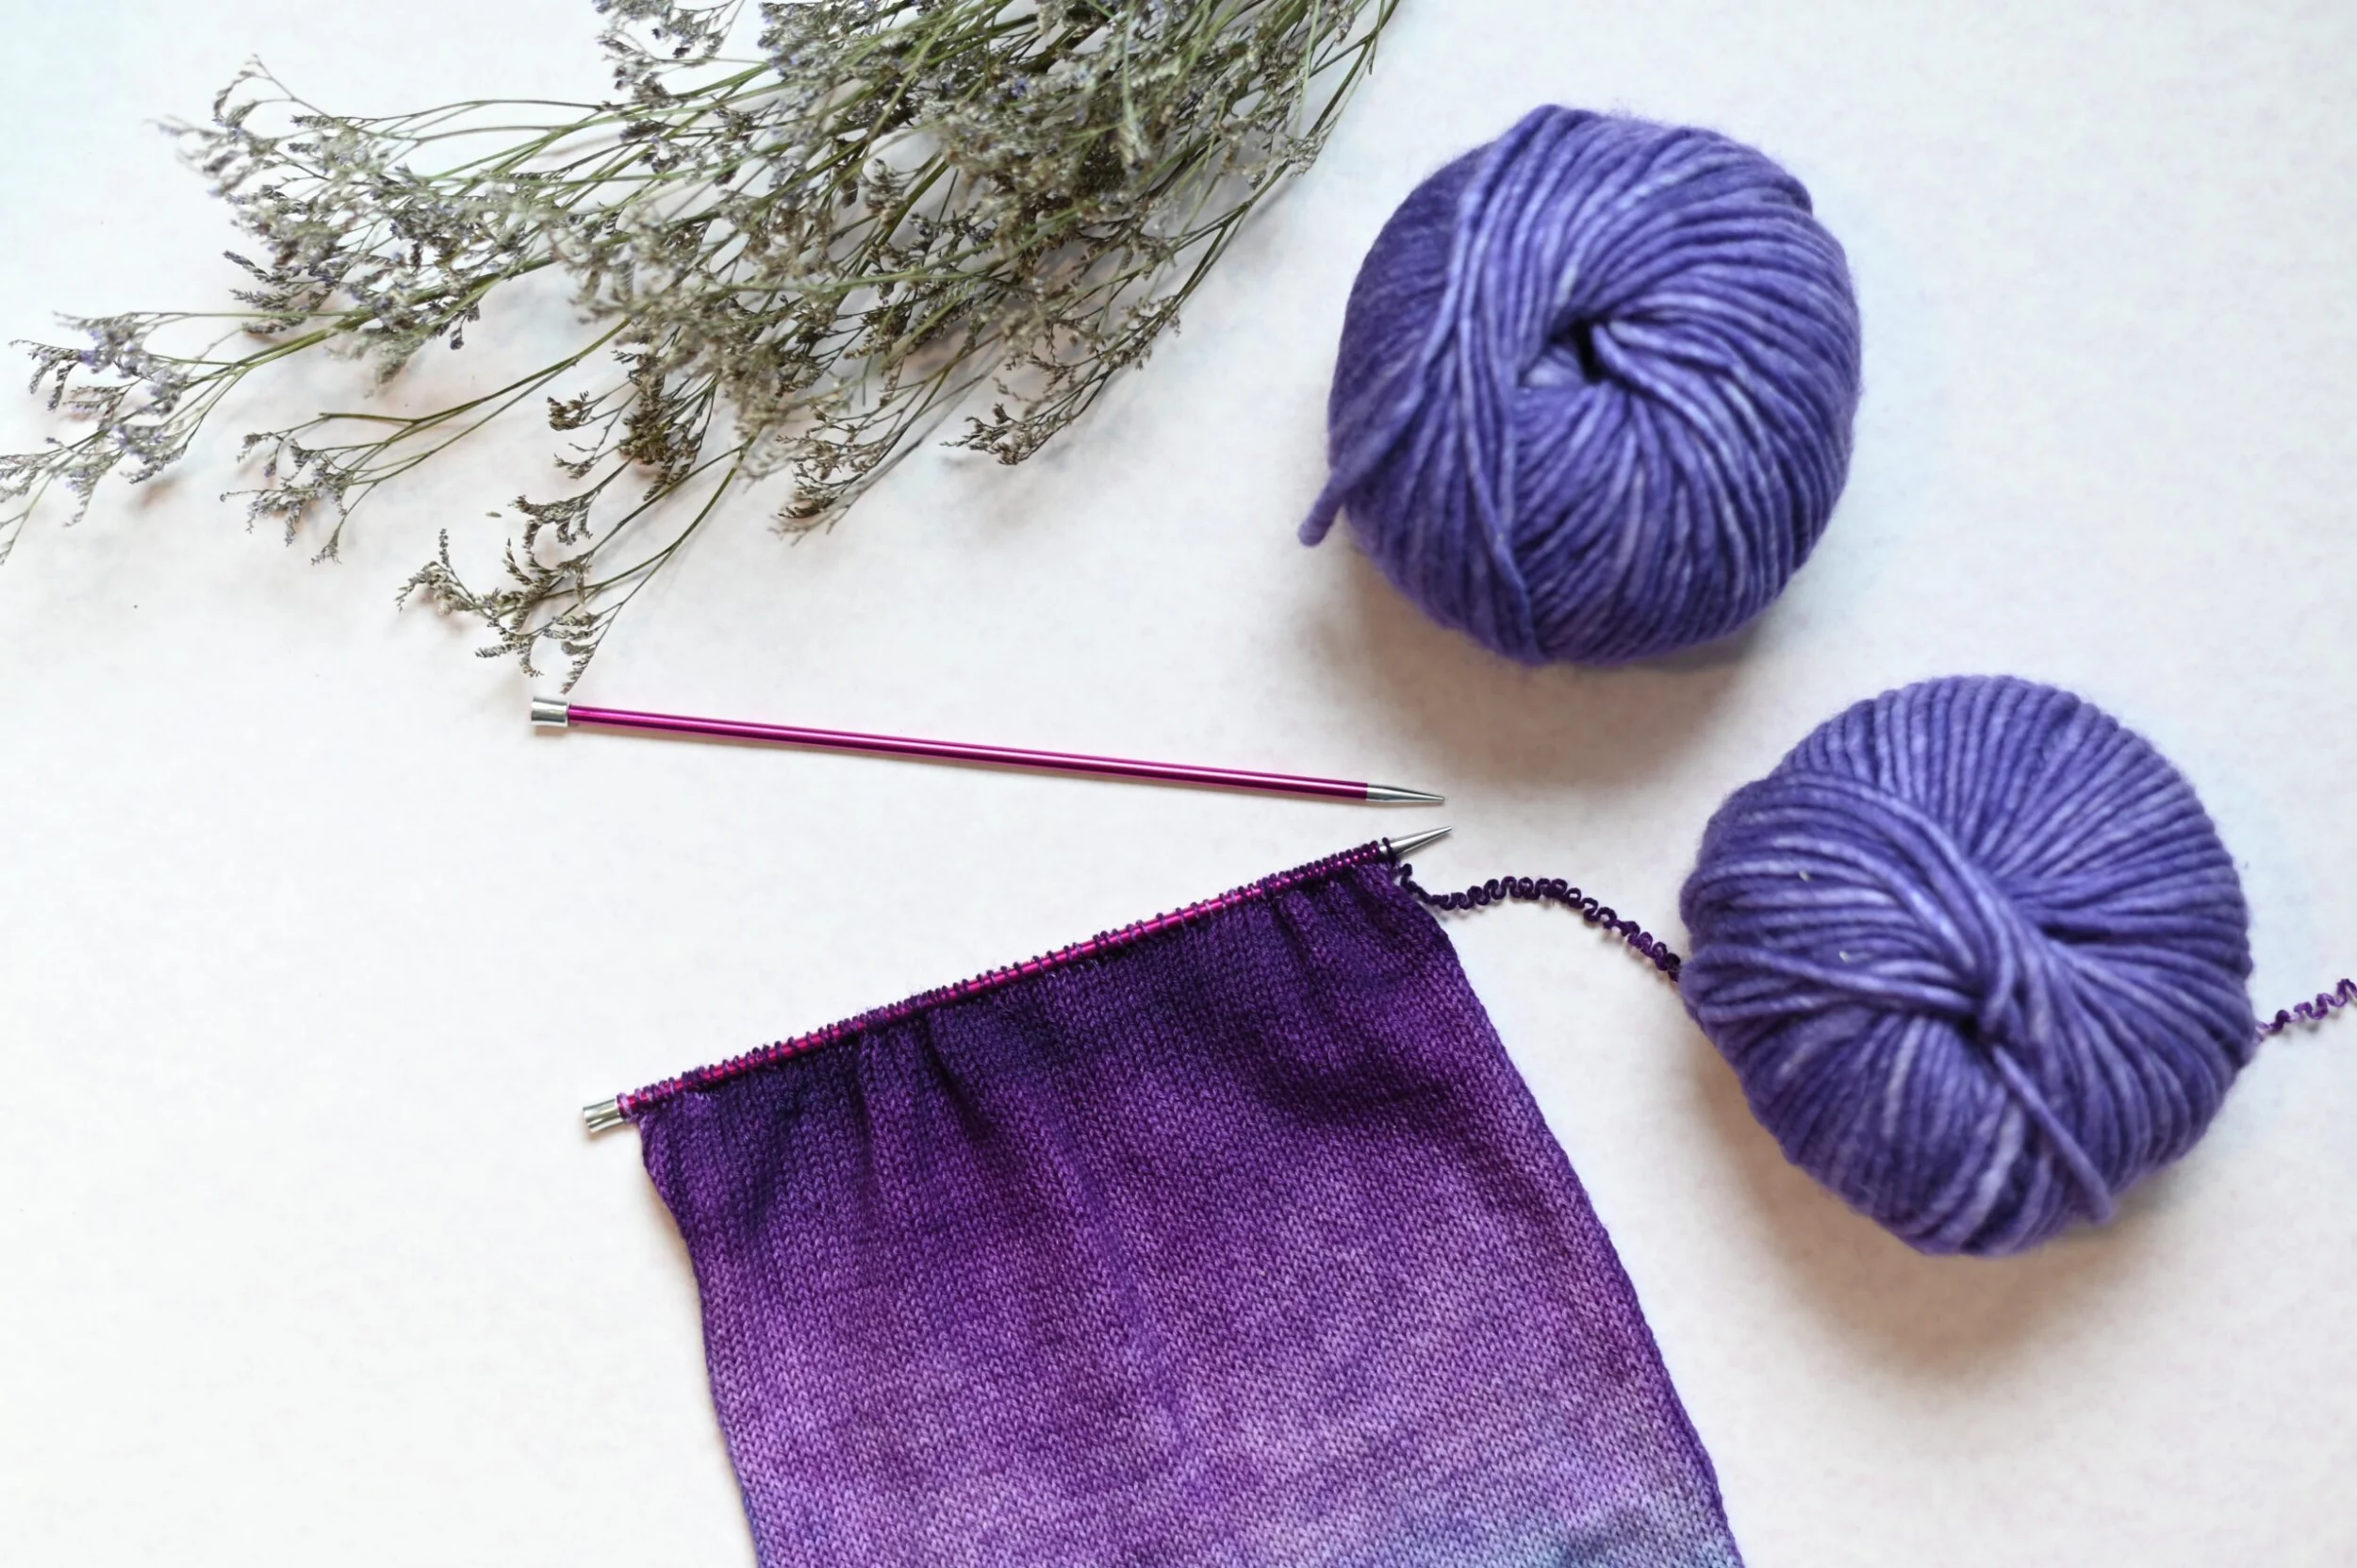
pictures
Photos can be used throughout your pattern to illustrate the fit, stitch textures up-close, and showcase elements of the pattern that might be tricky or unusual for customers. We recommend keeping your photos to less than 25% total retail space within the pattern, or offer a printer-friendly version with fewer images, to conserve ink for those printing patterns for paper use.
page numbers
Including page numbers on all your pattern pages will keep the end user from getting pages mixed up–patterns are a lot of text! Take a look and see if your pattern layout software offers an option for adding page numbers automatically so you don’t have to individually number each page.
your contact information
Whether you choose to put it on every page at the bottom or only on the last page of the pattern, make sure you include contact information for your website or email address so you can provide pattern support as needed to your customers. Make sure to note if you use any business names or professional aliases so that people can find your work!
pattern support notes
If you do not provide pattern support, make sure you note this on your pattern (and the pattern sales page). If you provide pattern support through a third party, make sure to note this somewhere in your pattern.
credit line
Always add your copyright information on your pattern. Best practices are either at the very top or the footer. Or both.
Some examples:
Published by [Name], 2022. This pattern is protected by intellectual copyright laws and cannot be produced or sold without the express consent of the author. Pattern, images, and charts copyright of [Name]. 2023
© gosadi 2023. All rights reserved. www.gosadi.com
There are so many ways to add flair and design to your patterns, but don’t be afraid to keep them simple, too. Most of your customers are there for the finished object, not just the instructions! The best patterns are clear to read and easy to follow and understand.
Whatever layout you choose, making sure to include the important details will ensure your customers have a good experience. With that in mind, we recommend checking out our blog on Creating a Layout That Works For You so that you can organize all of your important information in the best way!